How to Perfect Lightning for Product Photography
Lighting is the cornerstone of high-quality product photography. It’s not just about making things visible; it’s about presenting your products in the best possible light—literally. Whether you’re a seasoned photographer or a beginner, grasping the fundamentals of lighting can make a world of difference in the quality of your product shots.
At its core, lighting in product photography serves two main purposes: to illuminate the product and to enhance its features. Proper lighting helps to highlight the texture, color, and details of your product, making it more appealing to potential buyers. According to a study by eBay, listings with well-lit photos are 40% more likely to result in a sale compared to those with poorly lit images. This underscores the importance of getting lighting right.
There are two primary types of lighting to consider: natural and artificial. Natural light, which comes from sources like the sun, is often preferred for its soft, diffuse qualities. It’s ideal for creating natural-looking product shots with minimal setup. However, natural light can be unpredictable and varies depending on the time of day and weather conditions.
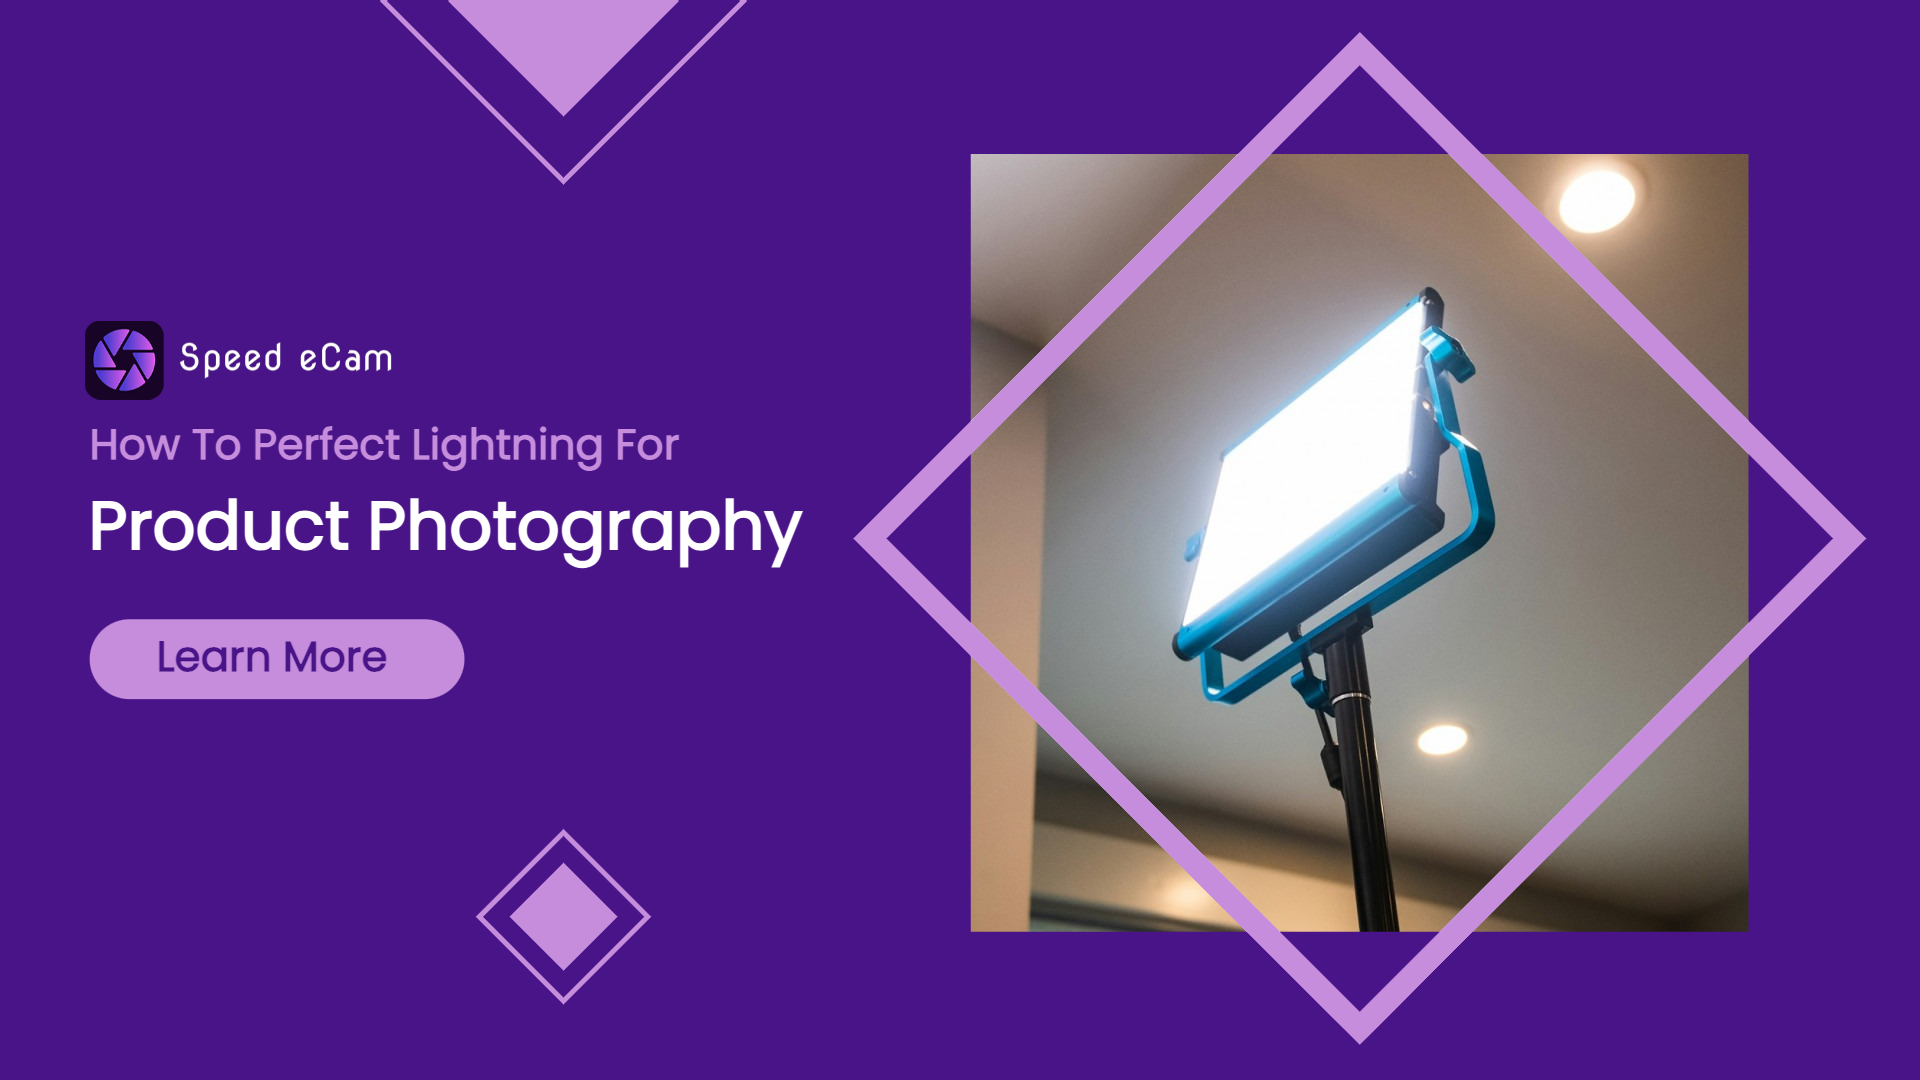
Artificial lighting, on the other hand, offers greater control and consistency. Using studio lights, flash units, or LED panels allows you to create a controlled environment where you can fine-tune the intensity and direction of light. This predictability is particularly valuable for maintaining a consistent look across multiple product shots.
Understanding the color temperature of your light sources is also crucial. Color temperature, measured in Kelvins (K), affects how warm or cool your images appear. For instance, daylight has a color temperature of around 5600K, which is neutral and often used for product photography. In contrast, tungsten bulbs have a warmer color temperature, which can give your photos a yellowish tint. Choosing the right color temperature helps ensure that your product colors appear true to life.
Ultimately, the goal of mastering the basics of lighting is to create images that are clear, attractive, and representative of your product. By understanding the different types of lighting and their effects, you can set up your shots to highlight your product’s best features and enhance its overall appeal.
Choosing the Right Lighting Setup: Natural vs. Artificial Light
When it comes to product photography, choosing between natural and artificial lighting is a pivotal decision that can significantly impact the outcome of your photos. Both lighting types have their unique advantages and applications, and understanding when to use each can elevate the quality of your product images.
Natural light is often celebrated for its ability to create soft, flattering images. It’s ideal for capturing products in a natural setting and can lend a genuine, unaltered look to your shots. For instance, shooting in diffused daylight, such as near a large window with sheer curtains, can produce a soft, even illumination that reduces harsh shadows and highlights. This technique is particularly useful for photographing items like clothing or accessories where the natural texture and colors need to be preserved.
A significant benefit of natural light is its cost-effectiveness. Since it’s free and readily available, it’s an attractive option for those starting out or working within a limited budget. However, natural light does come with its drawbacks. It’s highly dependent on weather conditions and the time of day, which can lead to inconsistencies in your shots. Additionally, natural light may not always be strong enough to highlight specific features of your product.
Artificial lighting, on the other hand, provides greater control and versatility. With options like studio lights, flash units, and LED panels, you can create a consistent lighting environment regardless of external conditions. For example, using a softbox can diffuse the light, reducing harsh shadows and producing a more even illumination. This setup is particularly advantageous for shooting products that require precise lighting to showcase their details, such as electronics or jewelry.
Artificial lighting also allows for more creative experimentation. You can manipulate the direction, intensity, and color of the light to achieve different effects. This flexibility is invaluable when trying to highlight specific features or create a particular mood in your photos.
A study by Photo District News found that 65% of professional product photographers prefer artificial lighting for its consistency and control. This preference underscores the importance of having a reliable lighting setup, especially for high-stakes product photography where accuracy and repeatability are crucial.
In summary, both natural and artificial lighting have their places in product photography. Natural light is excellent for its soft, authentic look and cost efficiency, while artificial lighting offers control and flexibility. Choosing the right lighting setup depends on your specific needs, budget, and the nature of the product you’re photographing.
How to Use Softboxes and Diffusers for Perfect Light Control
Softboxes and diffusers are essential tools in the arsenal of product photographers who strive for perfect lighting. These accessories help to control the quality of light, reduce harsh shadows, and create a more flattering illumination for your products.
A softbox is a light modifier that surrounds the light source with a fabric box, diffusing the light to produce a soft, even glow. This diffusion helps to eliminate harsh shadows and reduces the intensity of the light, making it ideal for close-up shots where detail is important. For example, using a softbox to photograph a piece of jewelry can prevent sharp reflections and create a gentle, even light that enhances the product’s shine.
Diffusers work on a similar principle, but they can be used in a variety of ways. They can be placed between the light source and the product or directly over the product to soften the light. Diffusers are particularly useful for controlling the light when shooting with a direct flash or harsh light sources. They help to spread the light more evenly, which is crucial for creating a professional-looking image.
The impact of using softboxes and diffusers can be significant. According to a survey by Adorama, photographers who use softboxes and diffusers report a 50% improvement in the quality of their product images. This improvement is attributed to the even lighting and reduced shadows, which make the products look more polished and appealing.
When setting up softboxes and diffusers, placement is key. Position the softbox or diffuser at a 45-degree angle to your product to create a flattering light that minimizes shadows and highlights. For more control, you can use multiple softboxes or diffusers to achieve the desired effect. Experiment with different setups to see what works best for your specific product and shooting environment.
In addition to softboxes and diffusers, consider using reflectors to bounce light back onto the product and fill in any remaining shadows. Reflectors can help to brighten up dark areas and ensure that all parts of your product are well-lit.
Incorporating softboxes and diffusers into your lighting setup can dramatically enhance the quality of your product photography. By softening and controlling the light, you create images that are not only visually appealing but also more representative of your product’s true characteristics.
Mastering the Art of Lighting Angles and Shadows
Mastering lighting angles and shadows is crucial for creating striking and professional product photos. The way light interacts with your product can dramatically affect the overall look and feel of your images. By understanding and manipulating lighting angles and shadows, you can highlight the best features of your products and create captivating photos.
The angle at which light hits your product can influence the appearance of textures, shapes, and details. For instance, placing your light source at a 45-degree angle to the product can create a pleasing balance of light and shadow, accentuating textures and contours. This technique is often used in product photography to add depth and dimension to flat or simple items.
One effective technique is the use of side lighting. Positioning your light source to the side of the product can create dramatic shadows and highlight textures, making it ideal for items like fabric or textured surfaces. For example, photographing a textured handbag with side lighting can emphasize the grain of the leather and create a dynamic visual effect. According to a study by Digital Photography School, using side lighting can increase the perceived depth of your images by up to 40%.
Another important aspect of lighting angles is the use of backlighting. This technique involves positioning the light source behind the product, which can create a silhouette effect or highlight translucent materials. Backlighting is particularly useful for products like glassware or jewelry, where you want to showcase the internal structure or create a halo effect. However, it’s essential to use backlighting carefully to avoid overexposing the product or losing details.
Shadows also play a significant role in product photography. While harsh shadows can be distracting, well-placed shadows can enhance the product’s appearance and create a sense of depth. To manage shadows, consider using techniques like feathering the light, which involves gradually reducing the intensity of light to create softer shadows. Additionally, using a reflector to bounce light back onto the product can help fill in shadows and ensure that all parts of the product are evenly lit.
Experimenting with different lighting angles and shadow effects can help you discover the best way to showcase your products. Try various setups and observe how changes in light position and angle affect the overall look of your images. By mastering the art of lighting angles and shadows, you can create compelling product photos that capture the essence of your items and engage potential buyers.
Creating a Lighting Kit That Fits Your Budget and Needs
Building a lighting kit for product photography doesn’t have to break the bank. With a little creativity and strategic planning, you can assemble a high-quality setup that fits both your budget and your specific needs. The key is to prioritize essential equipment and explore cost-effective alternatives.
Start by assessing your requirements. Consider the types of products you will be photographing and the look you want to achieve. For example, if you're shooting small items like jewelry, you may need a setup that offers precise control and fine detail. Conversely, if you're photographing larger products, you’ll require more powerful lighting to cover a broader area.
One of the most important components of a budget-friendly lighting kit is the light source itself. While professional studio lights can be expensive, there are affordable options available. LED panels, for instance, offer excellent brightness and color accuracy at a lower cost. Many LED panels also come with adjustable brightness and color temperature settings, allowing you to customize the lighting to suit your needs.
Softboxes are another essential item for controlling light quality. They help diffuse light to create a soft, even illumination that reduces harsh shadows. Fortunately, softboxes come in a range of prices, and you can find budget-friendly options that still deliver great results. For those just starting out, consider purchasing a basic softbox kit that includes a couple of softboxes and stands.
Reflectors and diffusers are also crucial for achieving professional-looking results. Reflectors bounce light back onto your product, helping to fill in shadows and create a more balanced exposure. Diffusers, on the other hand, soften the light and reduce harshness. You can find affordable reflectors and diffusers, or even make your own using materials like white foam board or fabric.
In addition to lighting equipment, consider investing in a light tent or shooting booth if you frequently photograph small items. A light tent helps to create a controlled environment with consistent lighting, minimizing the impact of external factors. Many light tents come with built-in diffusers and multiple color backgrounds, making them a versatile addition to your kit.
Overall, creating a lighting kit that fits your budget involves focusing on essential equipment and exploring affordable options. By selecting versatile, cost-effective tools and making smart choices, you can achieve professional-quality product photos without spending a fortune.
Using Reflectors to Enhance and Manipulate Light
Reflectors are invaluable tools in product photography, allowing you to enhance and manipulate light to achieve the desired look for your product shots. They help bounce light back onto the product, fill in shadows, and create a more balanced and polished appearance.
Reflectors come in various sizes and materials, including white, silver, gold, and translucent options. Each type of reflector produces different effects. For example, a white reflector provides a soft, neutral bounce that reduces shadows and adds a gentle fill light. This is ideal for creating a subtle, even illumination that doesn’t overpower the natural look of your product.
A silver reflector, on the other hand, produces a more intense bounce with a cooler, neutral tone. It’s useful for adding more light and contrast to your images, which can be particularly effective for highlighting details and textures. For instance, when photographing a metallic product, a silver reflector can enhance the shine and make the product appear more dynamic.
Gold reflectors add warmth to the light, which can be advantageous for products that benefit from a richer, more inviting tone. They’re often used in portrait photography but can also be applied to product photography to create a warm, flattering light that enhances the color of items like wood or fabric.
Translucent reflectors, or diffusers, are used to soften and diffuse light. Placing a translucent reflector between your light source and the product can help reduce harsh shadows and create a more even lighting effect. This technique is particularly useful for achieving a soft, natural look that highlights the product’s features without overwhelming them.
To use a reflector effectively, position it opposite your primary light source to bounce light back onto the product. Adjust the angle and distance of the reflector to control the intensity and direction of the bounced light. Experiment with different reflector types and positions to find the best combination for your specific product and shooting environment.
Incorporating reflectors into your lighting setup can significantly improve the quality of your product photos. By enhancing and manipulating light, you can create well-lit, balanced images that showcase your products in their best light.
The Impact of Color Temperature on Your Product Photos
Color temperature plays a crucial role in product photography, influencing how the colors of your product appear and how the overall mood of your images is perceived. Understanding and controlling color temperature can help ensure that your photos accurately represent your products and appeal to your target audience.
Color temperature is measured in Kelvins (K) and affects the warmth or coolness of the light. Daylight has a color temperature of around 5600K, which is considered neutral and often used in product photography. This temperature provides a balanced, natural look that accurately represents the colors of your product.
Tungsten lighting, with a color temperature of approximately 3200K, produces a warmer, more yellowish light. While this can create a cozy and inviting atmosphere, it may not always accurately represent the true colors of your product. If you use tungsten lighting, you may need to adjust the white balance settings in your camera to compensate for the warmer tone.
Fluorescent lighting has a wide range of color temperatures, from cool to warm. Cool white fluorescent lights, with a temperature of around 4000K, produce a neutral to slightly cool tone. This can be useful for creating a clean, modern look but may require adjustments to ensure color accuracy.
Adjusting the color temperature of your lighting can help you achieve the desired effect and ensure that your product colors are accurately represented. Most modern cameras and editing software allow you to adjust the white balance to match the color temperature of your light sources. For instance, if you’re using a combination of daylight and tungsten lights, you may need to balance the colors to avoid color casts and ensure consistency.
In addition to adjusting the white balance, you can use color correction filters to modify the color temperature of your lighting. These filters can help you achieve a specific look or correct any color imbalances in your images.
Understanding and managing color temperature is essential for creating product photos that are both visually appealing and true to life. By selecting the right color temperature for your lighting setup and making necessary adjustments, you can enhance the quality of your photos and accurately showcase your products.
How to Achieve Consistent Lighting for Different Products
Achieving consistent lighting across different products is essential for creating a cohesive and professional appearance in your product photography. Consistency not only enhances the overall quality of your images but also helps in establishing a recognizable style and brand identity.
To maintain consistent lighting, start by setting up a dedicated shooting area with controlled lighting conditions. This could be a studio space with adjustable lights or a designated area in your home with consistent natural light. Ensuring that your lighting setup remains constant helps to produce uniform results across various product types.
Use a fixed lighting setup to avoid variations in light intensity and direction. For instance, position your lights at the same angle and distance from the product for each shoot. This consistency in lighting placement helps to maintain a similar look and feel in your photos, regardless of the product being photographed.
Employ light meters or exposure settings to measure and adjust the intensity of your lights. Using a light meter can help you achieve accurate and consistent exposure levels, which is crucial for maintaining uniform brightness across different products. Alternatively, use your camera’s manual mode to set consistent exposure settings for each shoot.
Incorporate light modifiers such as softboxes and diffusers into your setup to ensure even lighting. Softboxes help to diffuse light and reduce harsh shadows, while diffusers can soften and spread light more evenly. By using these tools consistently, you can achieve a more uniform illumination that enhances the appearance of your products.
When photographing products of varying sizes and colors, be mindful of how different items interact with your lighting. Larger products may require additional lighting or adjustments to ensure even coverage, while smaller items might need more focused lighting to highlight details. Adjust your lighting setup accordingly to accommodate these variations while maintaining overall consistency.
Finally, establish a standard shooting protocol for your product photography. This includes consistent camera settings, lighting setup, and shooting angles. By following a standardized approach, you can ensure that each product is photographed under similar conditions, resulting in a cohesive and professional appearance across your entire product line.
In summary, achieving consistent lighting for different products involves creating a controlled shooting environment, using fixed lighting setups, measuring light intensity, employing light modifiers, and following standardized protocols. By maintaining these practices, you can produce high-quality, uniform product photos that enhance your brand’s professional image.
Experimenting with Lighting Techniques for Unique Product Shots
Experimenting with lighting techniques can open up a world of creative possibilities in product photography, allowing you to produce unique and captivating images that stand out from the competition. By stepping beyond traditional lighting setups and exploring innovative approaches, you can highlight your product’s features in visually striking ways.
One technique to experiment with is backlighting, where the light source is placed behind the product. This approach can create dramatic silhouettes or highlight translucent materials, adding a sense of depth and intrigue to your images. For example, photographing a glass vase with a strong backlight can produce a stunning effect that emphasizes the shape and clarity of the glass.
Another technique to try is spotlighting, which involves focusing a light source on a specific area of the product. This method can draw attention to particular features or create a spotlight effect that adds visual interest. For instance, if you’re photographing a piece of jewelry, using a spotlight can accentuate its facets and sparkle, making it more appealing to potential buyers.
Low-key lighting is another creative approach that involves using minimal light to create a dramatic and moody atmosphere. This technique is particularly effective for high-contrast shots and can be used to evoke a sense of mystery or sophistication. For example, photographing a black leather bag with low-key lighting can enhance its texture and details while creating a sleek, stylish look.
Additionally, consider experimenting with colored gels or filters to introduce different hues into your lighting setup. Colored gels can be placed over your light sources to create vibrant, colorful effects or to match specific branding colors. This technique can be used to create a themed or seasonal look for your product shots, adding a unique touch that sets your images apart.
Experimentation is key to discovering new lighting techniques that work for your specific products. Take the time to test different setups and observe how variations in light direction, intensity, and color affect the appearance of your images. By embracing experimentation and creativity, you can develop a signature style and produce standout product photos that capture your audience’s attention.
Troubleshooting Common Lighting Issues in Product Photography
Troubleshooting common lighting issues is essential for achieving high-quality product photos and ensuring that your images accurately represent your products. Identifying and addressing these issues can help you avoid common pitfalls and produce consistent, professional results.
One common issue is uneven lighting, where some areas of the product are well-lit while others are poorly illuminated. This problem can be caused by improper light placement or the use of insufficient lighting equipment. To resolve uneven lighting, ensure that your light sources are positioned evenly around the product and consider using multiple lights or reflectors to fill in any dark spots.
Harsh shadows are another frequent issue in product photography, often resulting from direct light sources that create strong, unflattering shadows. To reduce harsh shadows, use light diffusers or softboxes to soften the light and distribute it more evenly. Additionally, adjusting the angle of your light sources can help minimize the impact of shadows and create a more balanced illumination.
Color casts can also be a problem, particularly when mixing different light sources with varying color temperatures. For example, combining daylight with tungsten light can result in a noticeable color imbalance. To correct color casts, use a white balance tool to adjust the color temperature in your camera settings or use editing software to make color corrections during post-processing.
Reflections and glare are common issues when photographing shiny or reflective surfaces, such as glass or metal. To manage reflections, position your light sources at angles that minimize direct reflections and use polarizing filters to reduce glare. Additionally, employing diffusers can help to soften the light and reduce unwanted reflections.
Regularly reviewing and adjusting your lighting setup can help you address these common issues and achieve optimal results. By troubleshooting problems as they arise and making necessary adjustments, you can ensure that your product photos consistently meet high standards of quality and professionalism.
How to Use Lighting to Highlight Key Features of Your Product
Using lighting strategically to highlight key features of your product is crucial for creating compelling and informative product photos. By directing light to emphasize specific aspects of your product, you can draw attention to its most important attributes and make it more appealing to potential buyers.
One effective method is to use directional lighting to highlight product details. By positioning your light source at an angle, you can create shadows and highlights that accentuate the texture and shape of your product. For example, when photographing a textured fabric, placing the light at a 45-degree angle can bring out the fabric’s weave and enhance its visual appeal.
Rim lighting is another technique used to highlight the edges of your product. This involves placing a light source behind the product to create a glowing outline or highlight the contours. Rim lighting is particularly effective for showcasing the silhouette of items like bottles or jewelry, adding a dramatic and polished effect to your photos.
To emphasize reflective surfaces, such as metal or glass, use focused lighting to direct light precisely onto the product. This approach enhances the shine and clarity of the reflective surface, making it stand out in your images. Additionally, using a combination of lighting angles and reflectors can help you achieve a well-balanced and striking look.
Detail shots are another opportunity to use lighting creatively. For close-up images that capture intricate details, such as engravings or fine textures, ensure that your lighting setup highlights these elements without overpowering them. Using a macro lens and adjusting the lighting to focus on specific details can help you create high-quality images that showcase the product’s craftsmanship.
By employing these lighting techniques, you can effectively highlight the key features of your product and create engaging, informative photos that capture the attention of your audience. Experiment with different lighting setups to find the best approach for showcasing your product’s unique attributes and achieving a professional look.
Lighting Setup Tips for Professional-Quality Product Photography
Achieving professional-quality product photography requires careful attention to your lighting setup. By following key tips and best practices, you can ensure that your product images meet high standards of quality and effectively showcase your products.
Start by establishing a consistent lighting environment. Whether you’re using natural light or artificial lighting, aim to create a controlled environment where you can maintain consistent lighting conditions for each shoot. This helps to produce uniform results and ensures that your product images have a cohesive look.
Invest in quality lighting equipment that suits your needs. While it’s possible to start with basic lighting setups, investing in professional-grade equipment such as softboxes, LED panels, and reflectors can significantly enhance the quality of your photos. Look for lighting tools that offer adjustable settings for brightness and color temperature, allowing you to customize the lighting to fit your specific requirements.
Set up your lights strategically to achieve optimal results. Position your primary light source at a 45-degree angle to the product to create a balanced and flattering illumination. Use additional lights or reflectors to fill in shadows and ensure that all parts of the product are evenly lit. Experiment with different angles and distances to find the best setup for your product.
Ensure that your camera settings are properly adjusted to complement your lighting setup. Use a tripod to keep your camera stable and avoid camera shake, and set your aperture, shutter speed, and ISO to achieve the desired exposure. Utilize your camera’s manual mode to control these settings and ensure consistent results across different product shots.
Regularly review and adjust your lighting based on the results of your shoots. Analyze your images for any issues such as uneven lighting, harsh shadows, or color casts, and make adjustments as needed. Continuously refining your lighting setup and staying informed about new techniques and tools can help you maintain high standards of quality and achieve professional results.
By following these lighting setup tips, you can elevate the quality of your product photography and create images that effectively showcase your products. A well-thought-out lighting setup is essential for producing professional-looking photos that capture the attention of your audience and drive sales.
Conclusion
Mastering the art of lighting for product photography is essential for capturing high-quality images that truly represent your products. From understanding the fundamentals of lighting and creating a budget-friendly kit to experimenting with advanced techniques and troubleshooting common issues, the impact of well-planned lighting cannot be overstated.
A thoughtful approach to lighting allows you to highlight the unique features of your products, whether you’re using basic setups or exploring creative methods like backlighting and rim lighting. By investing in quality equipment, adjusting your color temperature, and employing consistent lighting practices, you ensure that each image is polished and professional.
More Info - Click here
Leave a Reply